


How to Install Window Tint on your Home Windows
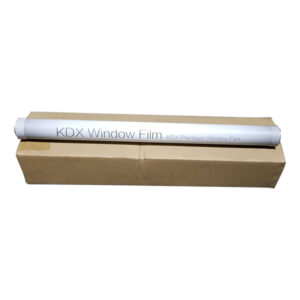
Architectural window films are thin films retrofit coating upgrade that can be worn/installed to the interior of glass surfaces in boats, automobiles, home and office buildings. There are different kinds of films available from an array of manufacturers. Architectural window films are usually made from polyester used for tensile strength, clarity, dimensional stability and ability to accept a variety of surface applied, that is, pigments, metals, ultraviolet inhibitors, and so on.
Architectural window films work by taking control of the passage of solar energy into the room space, thereby enhancing the insulating performance of windows, hence, offering long lasting decorative opportunities.
How it works
Architectural window films work by taking control of the passage of solar energy into room spaces, thereby enhancing the insulating performance of windows, hence, offering endless decorative opportunities. It can also substantially reduce the safety and security hazards relating to fragile, easily crushed glass.
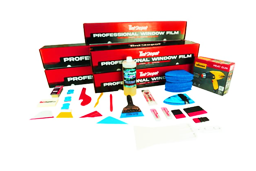
TOOLS REQUIRED
- Spray container
- Slip Aid
- Edge Guide Tool
- Trimming Knife
- Paper Towel (Lint free)
- Pressure Sensitive Tape
- Razor Scrapper
- Squeegee
- Window Solution (for application and cleaning)
WINDOW SOLUTION
The window solution is a key ingredient in the successful application of window film. The solution prevents adhesive from sticking to the glass during the film installation. The solution is a mix of a slip aid and water. The amount is relative to the adhesive type, the environmental conditions and the preferred slip for positioning reasons. The amount of slip aid can be added or reduced depending on how well the film is sliding.
Pressure sensitive (Warmer conditions) film requires more slip, whereas Clear dry adhesive (Cold conditions) requires less.
STEPS IN WINDOW FILM INSTALLATION
There are 2 different adhesives used to bond window film with glass: Pressure sensitive adhesive (PSA) or the Clean dry adhesive (CDA). Pressure sensitive adhesives are sticky to touch and bonds mechanically with the glass when pressure is applied, when the solution evaporates. CDA films are non-sticky and bonds chemically with the surface of the glass over time. A release liner is used to protect the adhesive until the film is installed. Film installation process is the same for all window and film type. The steps are as follows:
PATTERN
- Measure the window glass height and width from inside the frame.
- Extra 2″ should be added to each dimension, cut the film from the box.
- NOTE: Cut film so that the top edge has a straight edge. Factory film edge makes for easy installation. A film handler provides at least 2 straight edges and reduces waste.
- Roll film with release liner, which protects the adhesive , facing inward until roll is approximately 2″ in diameter.
- Keep rolled film aside to be used later.
PREPARATION
- Spray solution on windows
- Wipe the window from the top to bottom with a squeegee
- Spray solution on windows, scrape from the top to bottom using a window scraper.
- NOTE: STOP using a razor scraper if you hear a scratching sound. Clean using a lint free towel.
- Spray the solution on the window and wipe the frame and edges using a lint free paper towel.
- Squeegee the window from the top to bottom.
- Cleaning steps can be repeated as needed until satisfied window is clean.
FILM APPLICATION
- Soak the window thoroughly with solution, making sure the glass is evenly wet.
- Removing the release liner: Apply pressure sensitive tape on each side of the upper corner of the film. Holding a piece of tape in each hand, pull the tape to separate release liner from the film.
- With the adhesive surface of the film exposed, it is important to spray with solution to insure there are no dry spots.
- Apply the film to the glass surface, making sure the straight edge of the film aligns with the corresponding frame edge. The rest of the film edges should overlap the frame with approximately 1″.
- Spray solution on film, starting at the center of the window, Squeegee across top to the right side of the window. From the top center again, squeegee across to left hand edge of the window, then squeegee each half of the window in a straight, smooth, downward strokes moving from center out to the edge of the window until all excess solution has been expelled and the film is lying flat.
- Place an edge guide tool against the window frame, using a trimming knife to trim the excess film, trim bottom and side before top to prevent the trimmed film from getting in the way.
- Begin trimming from a corner, but do not finish up cutting into corner.
- Remove all overlapping material and discard all film scraps.
- Spray solution once more after the film is completely trimmed. Squeegee as explained above.
FINISH
- Using a wad of lint free paper towel, wipe around the window to dry the edges of the film and frame. Rotate towel more frequently to completely remove all excess water.
- Inspect your work. Check your work from different viewpoints, check for complete removal of water and absence of contamination under the film.